
Birds are probably the most photographed of all wildlife.
They bedazzle us with their colors, songs and curious behaviors. We see and hear them everywhere throughout the year. No wonder they are a favorite subject for photography.
Photographing birds can be as easy or hard as you want to make it. Most folks gravitate to super telephoto lenses but you can, with a little extra work, capture photographs with shorter lenses using remotely triggered cameras.
The easiest way to start is in your own backyard. By planting bird-friendly plants that produce berries, nectar, and draw insects, and putting up feeders, you will attract resident and seasonal birds to you! If you have to wait until spring to plant, don’t despair. Bird feeders will work now.
When you pick a feeder location, consider several things. First, figure out which direction you will be shooting from: an open window in your home or a blind placed in the yard? From where you are shooting what does the background look like? Will this background be “clean” or distracting in the photographs? If distracting, try a more shallow depth-of-field, move the feeder, change your angle of shooting, or put something in the back- ground that will clean things up.
How will you light the subject? If using available light consider the direction of the sun when placing a feeder. Normally, you want light coming from over your shoulders and shining on your subject. In other cases you might want the light from behind your subject, using a flash to fill in so the subject doesn’t go too dark. Using flashes triggered remotely is a possibility as well.
Now consider the height of your bird feeder. I prefer it set at eye level from where I’m shooting. You can capture more intimate portraits when looking directly at a bird rather than from underneath.
Despite being hungry birds need to feel safe when coming to a feeder. Are there shrubs and trees nearby for them to perch in? Be aware that sneaky raptors make it a habit to hang out around feeders to dine on unsuspecting birds. Yes, this could provide a great action shot, but birds will feel safer given an escape route.
Give the birds some time to find your feeder. Study which species come in to feed, when, and what they do while feeding. What direction do they fly in and then leave? Do they eat on the feeder or fly off to eat, and if so, where do they go? By studying the bird’s habits you learn to anticipate their actions; this will help you decide when to shoot to capture the images you want.
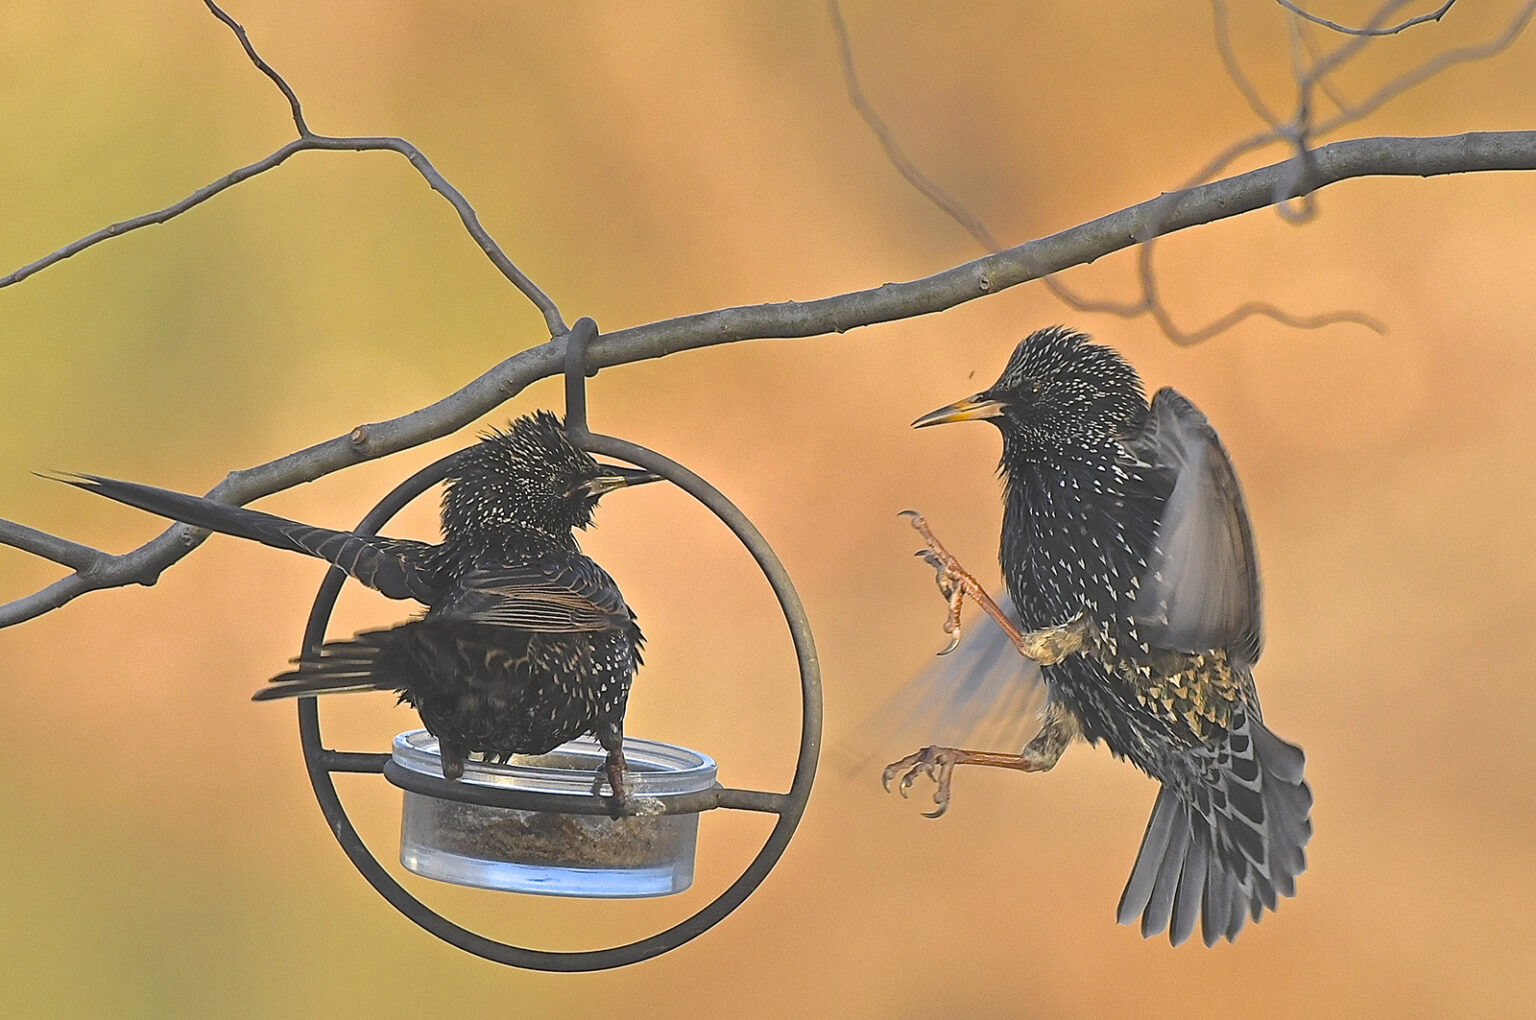
Most people capture tight, full body or head shots, but there is more to birds than that! Consider behavioral shots to include feeding, drinking, bathing, breeding, singing, perching, defending territory, fighting, nest-building, and feeding young. One cool trick is to make your own tree branch. I use a light stand and clamp a beautiful branch to it, with or without leaves. Placing it near the feeder allows birds to “stage” nearby and provides a natural looking perch.
It’s time to start shooting! A few shots on the feeder might be okay but here is your chance to practice photographing birds actually flying! Read up on how to capture moving subjects with your camera. I like to set my Canon EOS 7D Mark II on Al Servo to allow continuous AF tracking, high- speed continuous burst mode, AF Point Expansion (9 focus points), and Tracking and Focus Sensitivity set to Case 3, lens AF set to ON and Mode 1. Combined with high shutter speeds, these settings should be a ticket to success with birds on the move. It takes a lot of patience and practice but don’t give up. Try other settings to see what works best for you. Sometimes the settings are right but your timing is off, so carefully evaluate what you are doing.
Birds are delightful subjects, offering many creative challenges to the photographer. By starting in your own backyard, you too can enjoy photographing them! Happy Shooting!
Lynda Richardson, Department of Wildlife Resources


